
When people shop for new floors, they focus on what they will see: the color, the plank, the tile. But the part that decides how your floor looks and holds up over time is the part you never see — the surface underneath.
As we put it on our services page: even the best flooring material can fail when the floor underneath is not ready. Here is what floor prep and leveling involve, the warning signs to watch for, and what can happen when this step gets skipped.
What Is Floor Prep?
Floor prep is everything that happens between tearing out the old floor and installing the new one. Depending on the home, it can include:
- Removing the old flooring, adhesive, staples, and tack strips
- Cleaning the subfloor down to a solid surface
- Checking the floor for flatness and soft spots
- Repairing or replacing damaged plywood or patching cracked concrete
- Filling low spots with leveling compound and grinding down high spots
- Checking moisture and adding a moisture barrier or underlayment if the product calls for it
- Undercutting door jambs and planning transitions between rooms
Flat vs. Level: Why It Matters
People say “level,” but most flooring products really care about flat. A level floor is perfectly horizontal. A flat floor has no sudden dips, humps, or ridges, even if the whole room slopes slightly. Flooring manufacturers publish flatness requirements in their installation guides, often described as the largest dip or hump allowed over a set distance. Following those requirements is part of installing a product correctly.
Signs Your Subfloor Needs Attention
You may already see clues before the old floor comes up:
- Dips or humps you can feel when walking across the room
- Squeaks or bouncy spots in wood-framed floors
- Gaps or separating seams in your current LVP, laminate, or hardwood
- Cracked tile or grout, especially in a line across the room
- Soft spots near toilets, tubs, dishwashers, or exterior doors — a sign of past water damage
- Doors that rub or swing on their own
- Visible cracks or uneven areas in a concrete slab
Quick test: Lay a long straightedge or a level across the floor in several directions. If you can see daylight or slide something under it in spots, the floor likely needs leveling before new flooring goes down.
What Happens When Prep Gets Skipped
Cutting prep is one of the most common ways a low quote turns into an expensive problem. Here is what can happen with each flooring type:
Luxury vinyl plank (LVP)
Click-together LVP is designed to rest on a flat surface. Over a dip, planks flex every time someone walks across them. Over time that can lead to joints that separate or peak, a hollow or clicking sound, and planks that feel loose. Rigid-core planks can also show the outline of humps underneath.
Engineered hardwood
Uneven areas can cause squeaks, gaps, and boards that move. Moisture coming up from a slab or crawl space can cause cupping or warping. This Old House stresses that the subfloor should be clean, dry, and level before installing engineered wood, whatever the installation method.
Tile
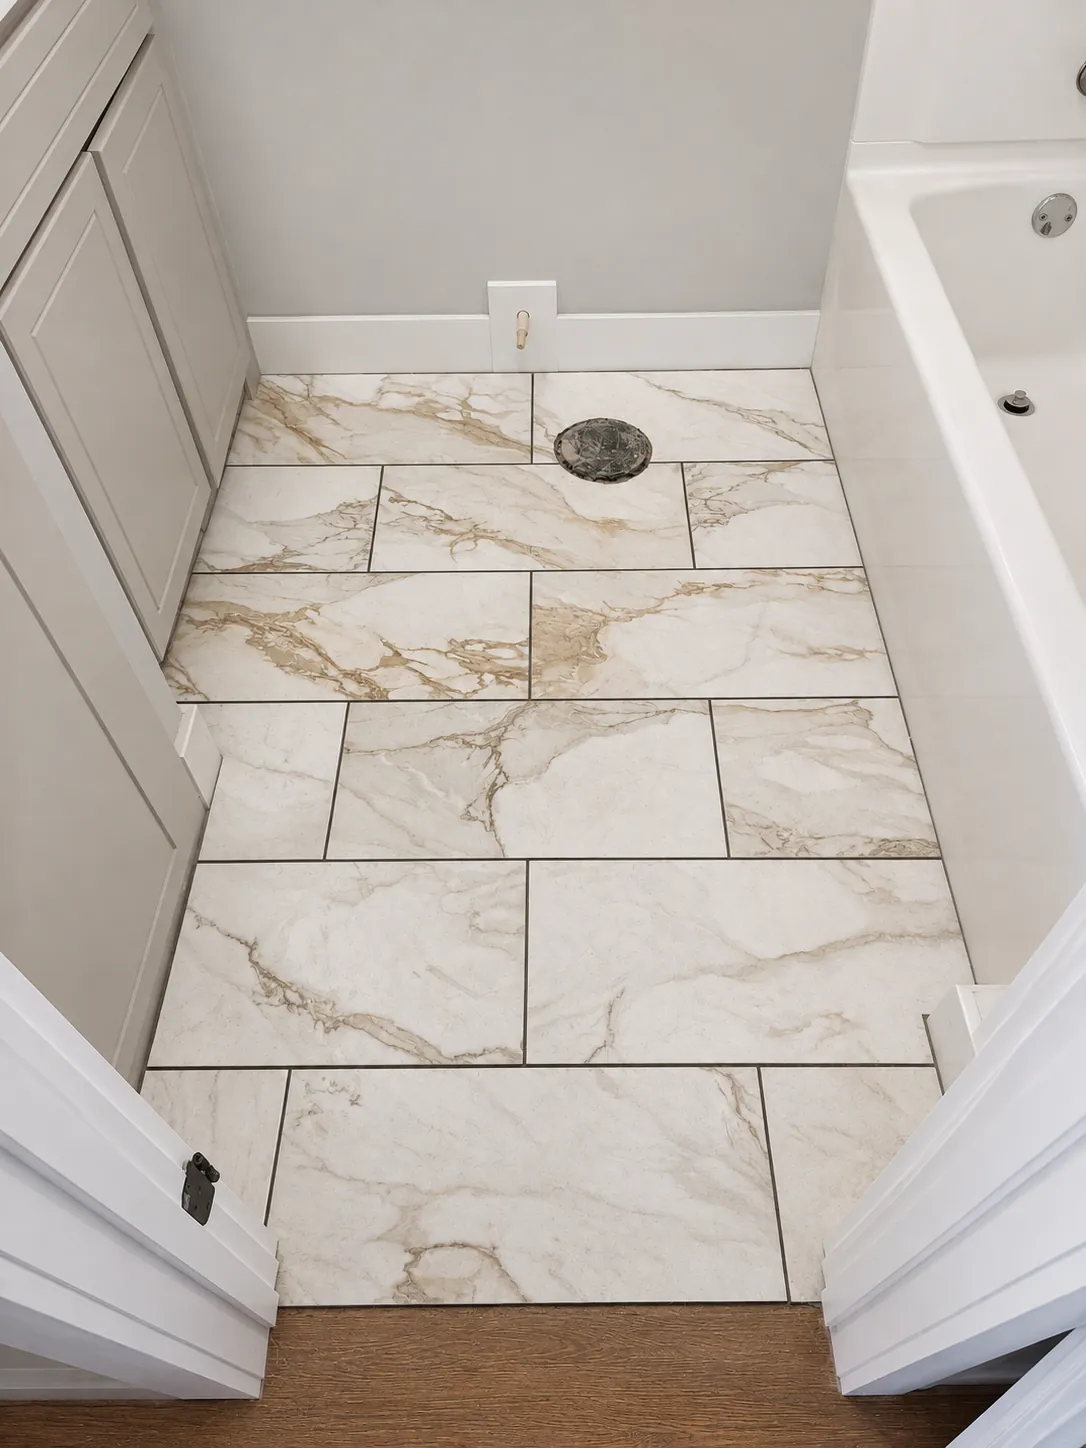
Tile is the least forgiving. An uneven base can cause lippage (edges of neighboring tiles at different heights), hollow spots, and cracked tile or grout. Angi describes floor leveling as a necessary step before tiling in most projects and warns that skipping it risks an uneven, flawed finished surface.
Warranty coverage
Product warranties often depend on the floor being installed according to the manufacturer’s instructions, including subfloor flatness and moisture requirements. Read your product’s warranty terms, and ask your installer how prep will be handled.
How Prep Affects Your Quote
Prep is often listed separately because every subfloor is different. A newer home with a flat slab may need very little, while an older home with past water damage may need repairs. Sometimes the full picture only shows up after the old floor is removed. A good estimate explains what prep is included and how surprises will be handled. For more on pricing, see How Much Does Flooring Installation Cost?
It is tempting to choose the quote with the lowest total, but if it skips prep, you may be paying for the same floor twice. Proper prep protects your investment in the materials you chose.
How AVS Flooring Handles Floor Prep
Floor leveling and prep are core parts of the work AVS Flooring does. We pay attention to subfloors, transitions, measurements, and layout before the installation begins. We help identify uneven areas and prep the surface so the finished installation looks better and lasts longer. See our flooring installation page for the rest of the process. Proper prep helps:
- Reduce movement, gaps, and weak spots
- Create a better foundation for LVP, engineered hardwood, or tile
- Improve the finished feel of the floor
- Fix dips, humps, uneven rooms, and poor transitions
Whether you are choosing LVP, hardwood, or tile, we will talk through what your floor needs in straight terms. Not sure which floor to pick? Start with our LVP vs. hardwood vs. tile comparison.
How to Get Your Home Ready
- Point out problem spots. Show your installer where floors squeak, dip, or feel soft.
- Share water history. Past leaks, plumbing repairs, or appliance overflows help explain what might be under the floor.
- Keep the HVAC running. Normal indoor conditions help flooring materials acclimate and perform as designed.
- Clear the room. Move furniture, rugs, and fragile items ahead of installation day.
Have a floor that dips, bounces, or cracks tile? AVS Flooring serves homeowners, builders, rental owners, and businesses in Brandon, Jackson, Flowood, Madison, Pearl, and Rankin County. Request a free quote or call 601-953-3073.